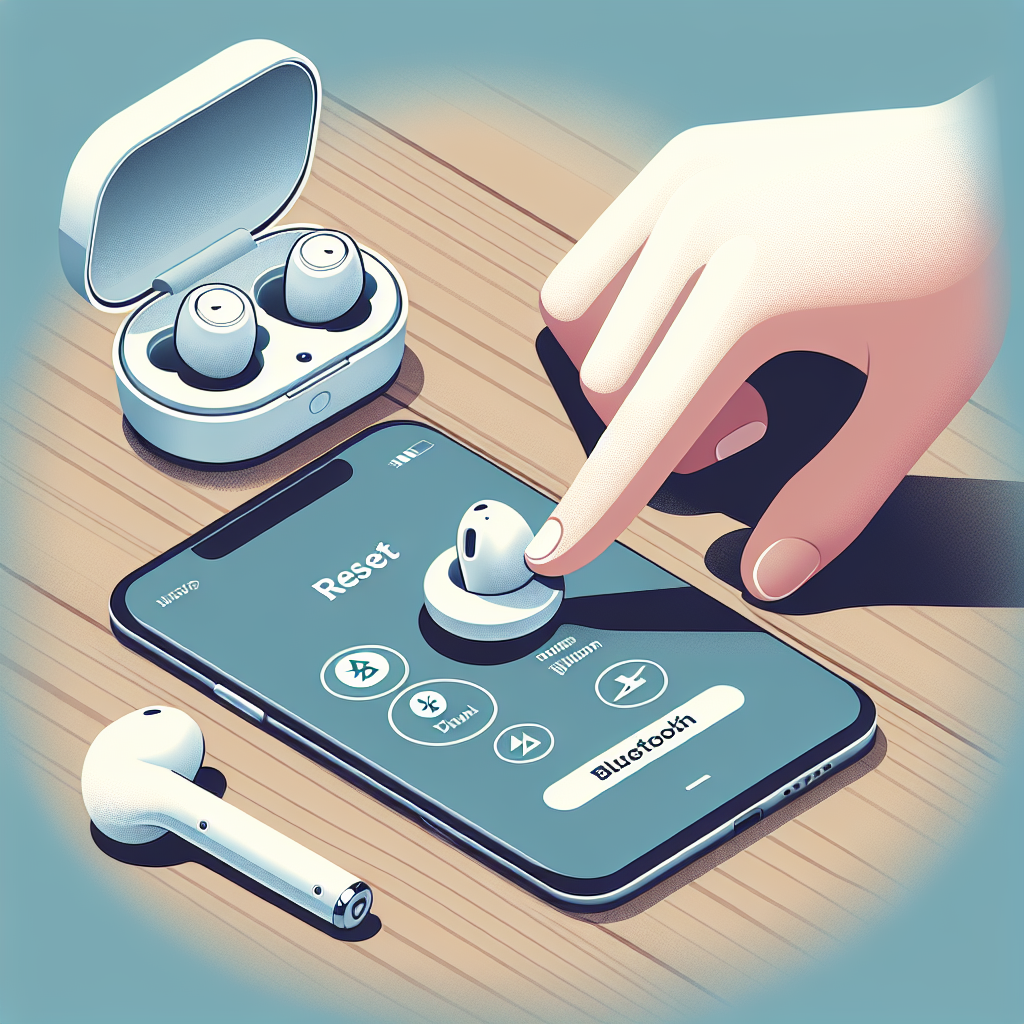
Introduction
AirPods have revolutionized the way we experience audio on the go. However, like any tech gadget, they can occasionally run into problems. Whether you’re experiencing connectivity issues, battery drain, or audio glitches, resetting your AirPods can often be the best solution. In this guide, we’ll walk you through the process of resetting your AirPods to their factory settings.
Why Reset Your AirPods?
Before diving into the steps, it’s important to understand why you might need to reset your AirPods. Some common reasons include:
- Connectivity Problems: If your AirPods are having trouble connecting to your device.
- Battery Issues: If the battery drains unusually fast or won’t charge properly.
- Audio Glitches: If you’re experiencing sound distortion or one of the AirPods isn’t working.
- Preparing for Sale: If you’re planning to sell or give away your AirPods, a reset will ensure your data is wiped.
How to Reset Your AirPods
Step 1: Put AirPods into the Charging Case
The first step is to place your AirPods back into the charging case. Make sure the lid is open and that both AirPods are inside the case.
Step 2: Locate the Reset Button
Next, locate the reset button on the back of the charging case. This small circular button is situated near the bottom.
Step 3: Press and Hold the Reset Button
Hold down the reset button for about 15 seconds. You’ll notice the LED light on the front of the case will start blinking amber. Continue to hold the button until the light turns white.
Step 4: Reconnect Your AirPods
Once the light turns white, your AirPods have been reset to factory settings. You can now reconnect them to your device by following the standard pairing process.
Conclusion
Resetting your AirPods is a simple and effective way to resolve many common issues. By following these easy steps, you can get your AirPods back to optimal performance in no time. Whether you’re troubleshooting a problem or preparing to pass them on to someone else, a reset ensures your AirPods are fresh and ready to go.

